Christmas Nail Designs is the perfect excuse to experiment with festive colors, sparkling finishes, and beautiful seasonal details.
From elegant velvet green Christmas nails to classic red French tips, the right manicure can make every holiday outfit feel more polished.
Whether you love subtle Christmas nail art or bold, glittery designs, these 13 ideas offer inspiration for your next salon appointment or a creative at-home manicure.
1. Elegant Velvet Green Christmas Nails
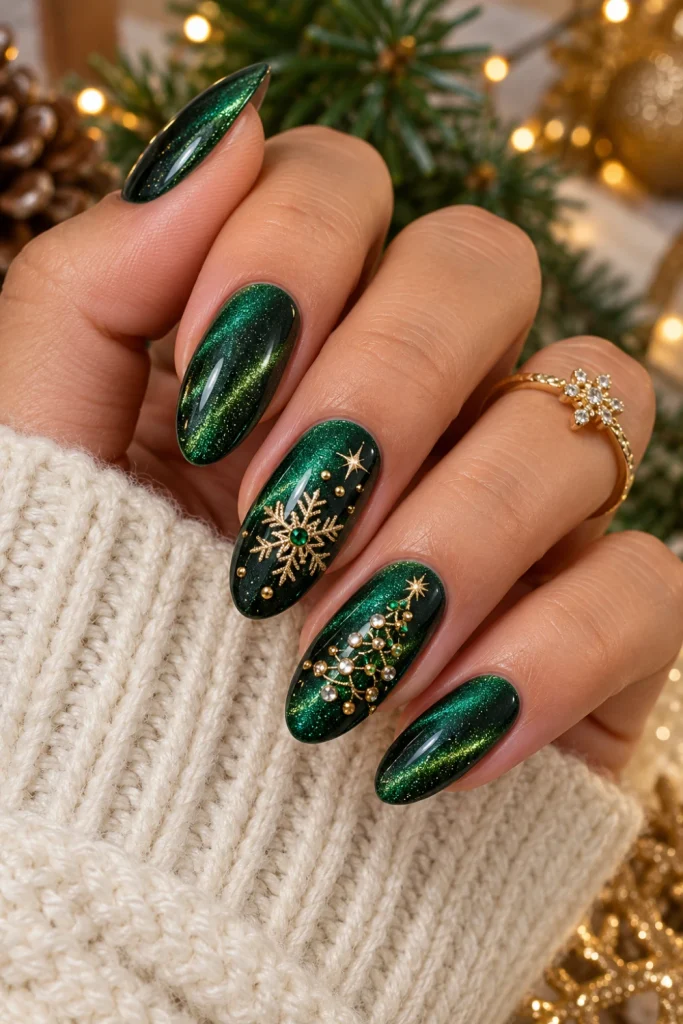
Rich • Luxurious • Festive
Elegant velvet green Christmas nails bring a luxurious touch to the holiday season.
Their magnetic, light-reflecting finish creates a soft, dimensional effect that looks beautiful on almond, oval, and square nail shapes.
Simple steps:
- Shape your nails and apply a suitable base coat.
- Apply two thin coats of deep forest-green magnetic polish.
- Use a magnetic tool according to the polish instructions to create the velvet effect.
- Cure if required and seal with the recommended top coat.
Tip: Choose emerald or deep pine green for a rich finish that complements gold jewelry and cozy winter outfits.
2. Christmas Nails Aesthetic in Cream and Gold
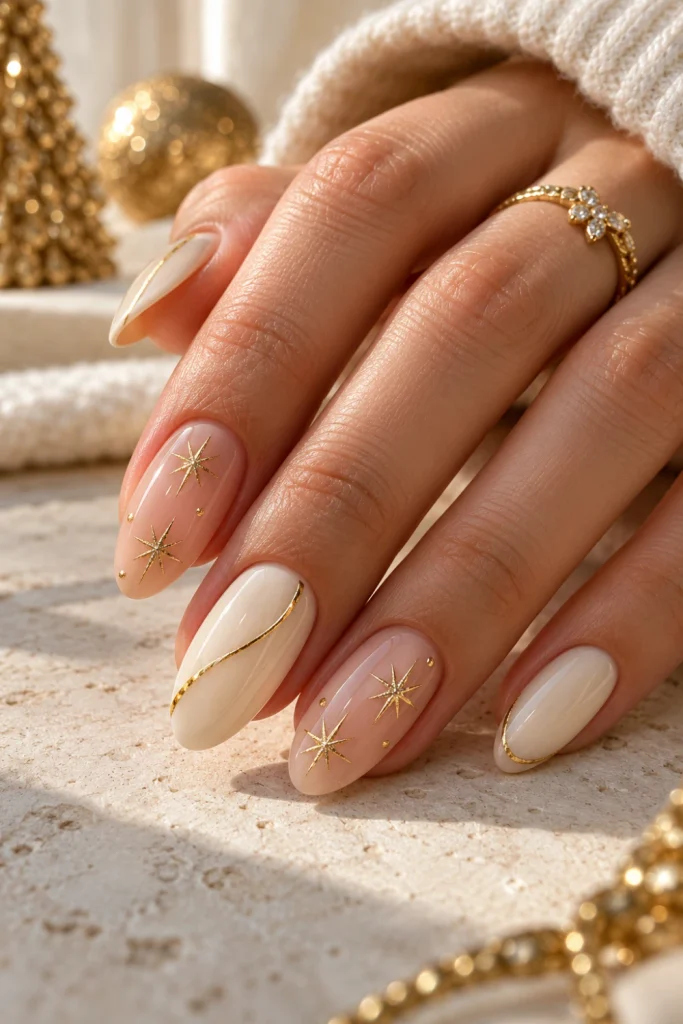
Minimal • Elegant • Timeless
If you prefer understated beauty, a cream-and-gold Christmas nails aesthetic offers festive charm without overwhelming your manicure.
The combination feels refined and works beautifully for holiday dinners, parties, and everyday wear.
Simple steps:
- Apply a sheer cream or milky nude base.
- Paint delicate gold stars or tiny snowflakes on selected nails.
- Add a thin gold line to one or two accent nails.
- Finish with a glossy top coat.
Tip: Keep the decorations minimal to create a clean, expensive-looking manicure.
3. Christmas Nails Pinterest: Classic Red and White
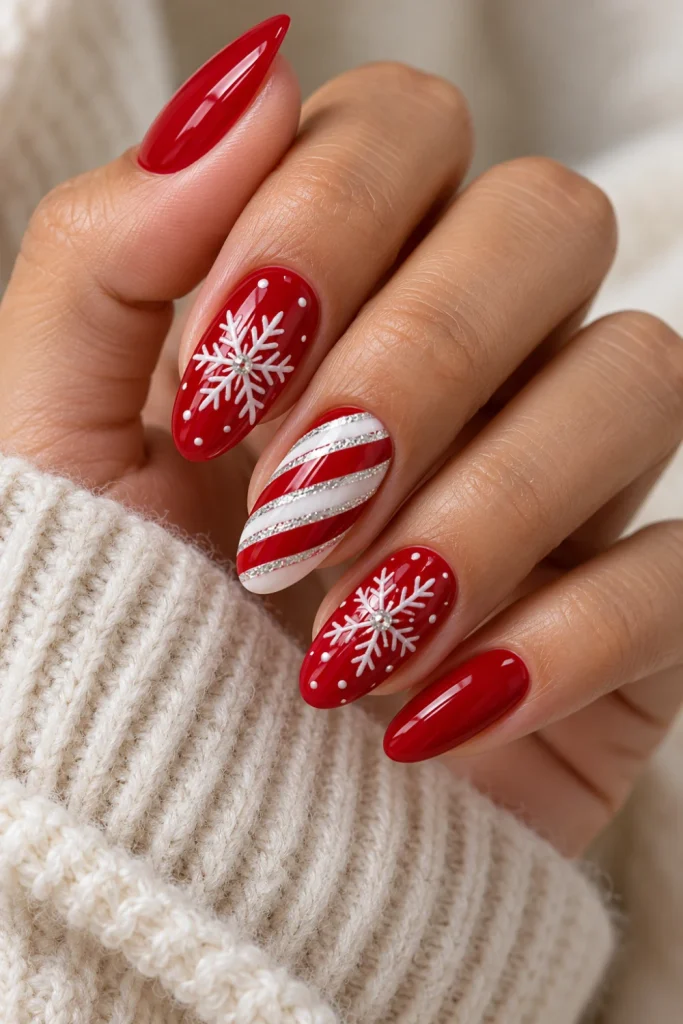
Bold • Cheerful • Photo-ready
Classic red and white Christmas nails remain a favorite for a reason.
They capture the traditional holiday spirit and create a striking manicure that looks especially attractive in festive outfit photos and Pinterest inspiration boards.
Simple steps:
- Apply a smooth base coat.
- Paint most nails in glossy cherry red.
- Add white snowflakes, tiny dots, or candy-cane stripes to accent nails.
- Seal the design with a glossy top coat.
Tip: Use a fine nail-art brush for crisp stripes and a dotting tool for neat snowflake details.
4. Summer Christmas Nails With Tropical Colors
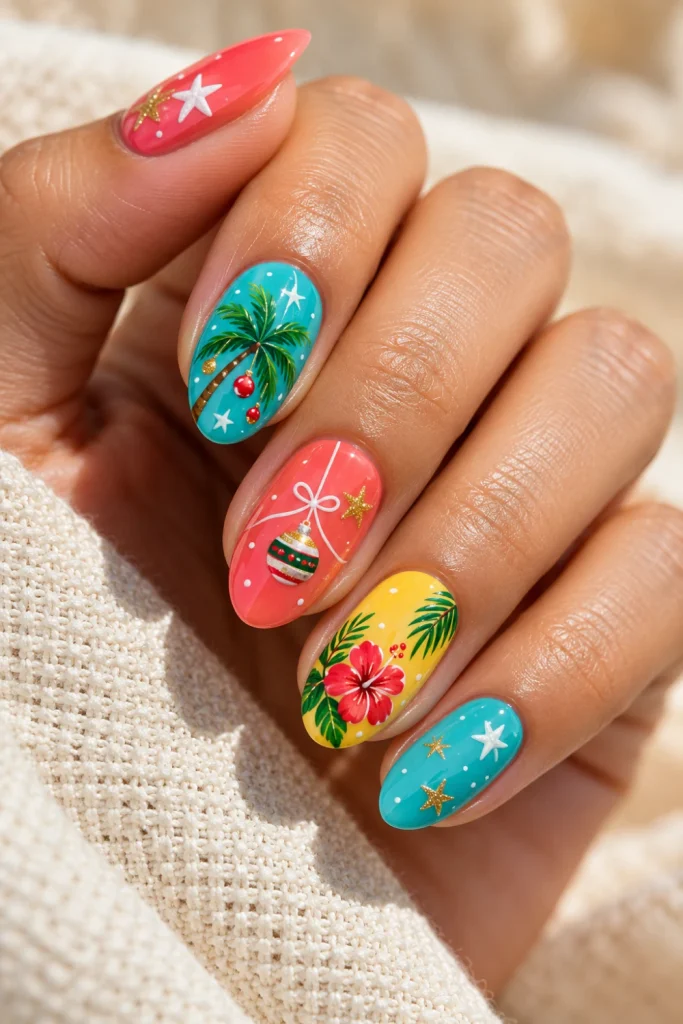
Fresh • Vibrant • Unexpected
Celebrating Christmas during warm weather?
Summer Christmas nails replace heavy winter shades with bright coral, turquoise, white, and sunshine yellow.
The result is playful, tropical, and perfect for outdoor celebrations.
Simple steps:
- Choose a bright coral or turquoise base for each nail.
- Paint tiny white stars, palm leaves, or festive ornaments.
- Add a contrasting accent color to one or two nails.
- Apply a glossy top coat to enhance the colors.
Tip: Use white details to keep the tropical palette looking fresh rather than overly busy.
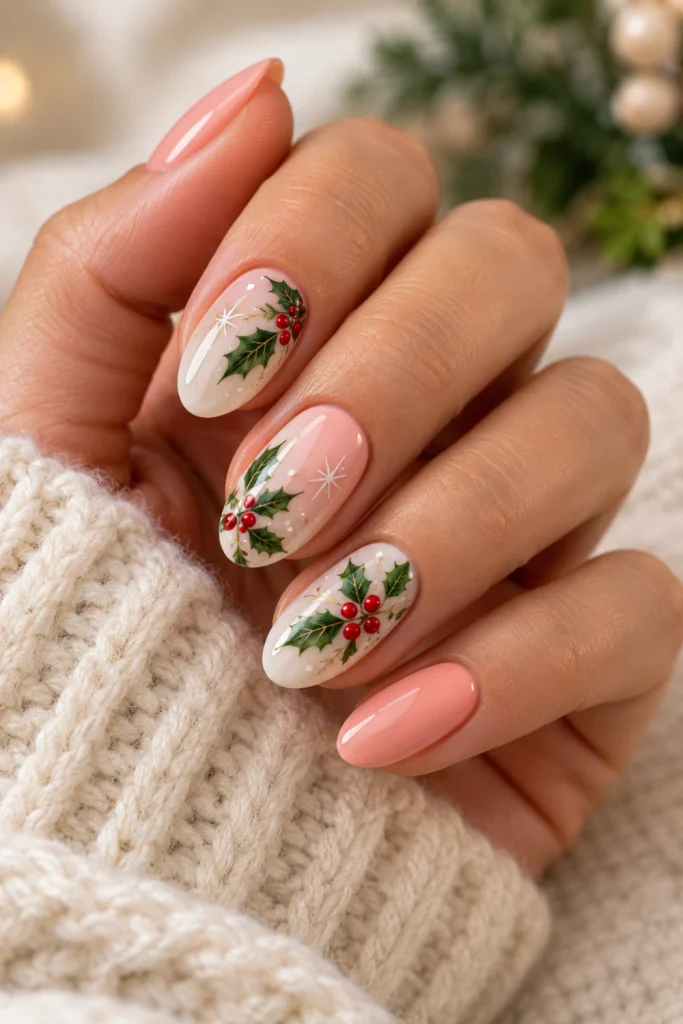
5. Summer X Christmas Nails With Festive Fruit
Playful • Colorful • Creative
Summer X Christmas nails combine sunny-season colors with recognizable holiday motifs.
Think bright pink polish, green holly leaves, tiny red berries, and cheerful white accents for a manicure that feels festive without being overly traditional.
Simple steps:
- Apply a pale pink, peach, or milky white base.
- Paint miniature holly leaves and red berries on accent nails.
- Add small white stars or colorful ornament details.
- Finish with a protective top coat.
Tip: Limit the detailed artwork to two or three nails so the overall manicure stays balanced.
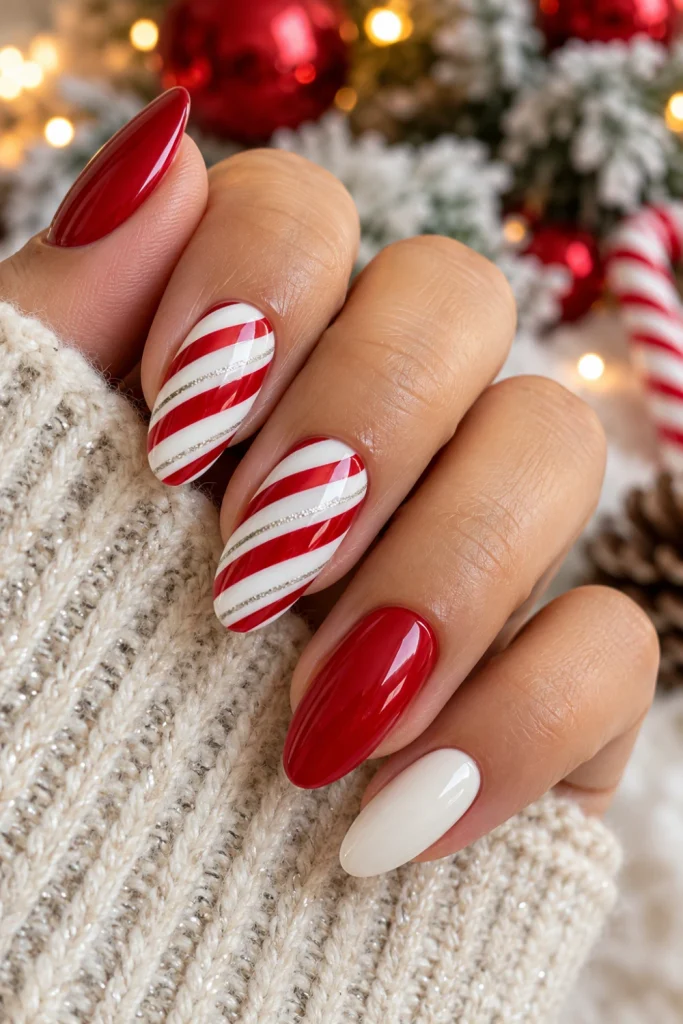
6. Christmas Nail Designs With Candy Cane Stripes
Sweet • Traditional • Eye-catching
Candy-cane nails turn a familiar Christmas treat into wearable nail art.
The recognizable red-and-white stripes work on short or long nails and can be adapted to French tips for a more subtle holiday look.
Simple steps:
- Apply a white or milky base color.
- Use a thin brush to paint diagonal red stripes.
- Add stripes to every nail or keep them on selected accent nails.
- Finish with a glossy top coat.
Tip: Allow each stripe to dry before adding another layer to reduce smudging.
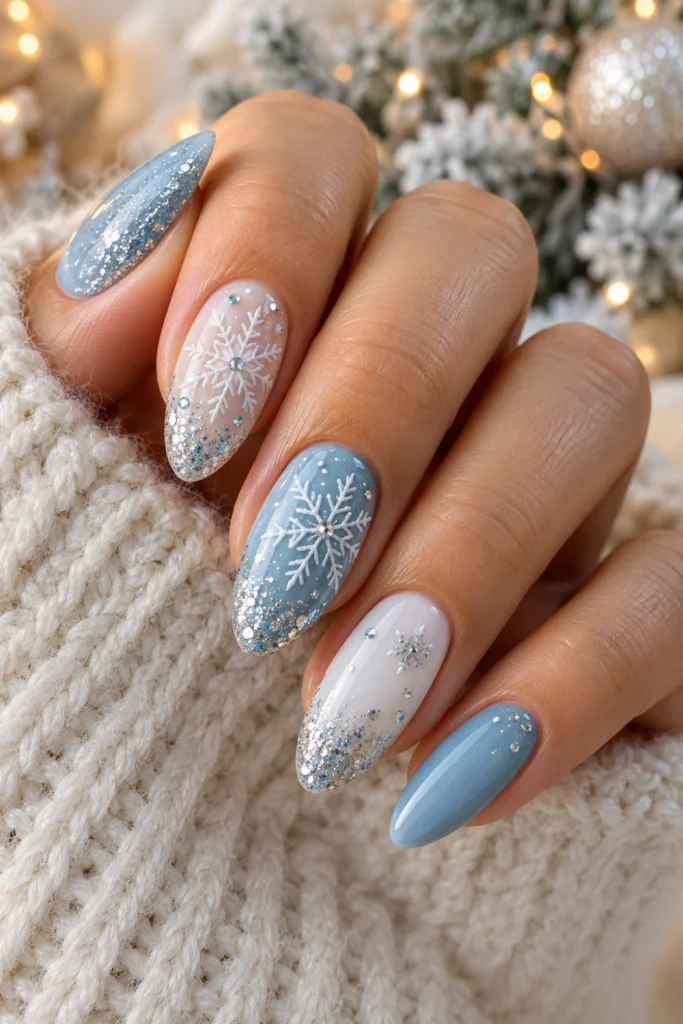
7. Christmas Nail Art With Snowflakes
Delicate • Icy • Elegant
Snowflake Christmas nail art creates a winter-inspired look with very little visual clutter.
Pale blue, icy silver, and milky white shades work particularly well for anyone who prefers cool-toned manicures.
Simple steps:
- Paint your nails in pale blue, nude, or milky white.
- Draw fine snowflake lines using a detail brush.
- Add tiny silver dots or a touch of glitter.
- Seal with a clear top coat.
Tip: Vary the snowflake sizes slightly to create a more natural, hand-painted appearance.
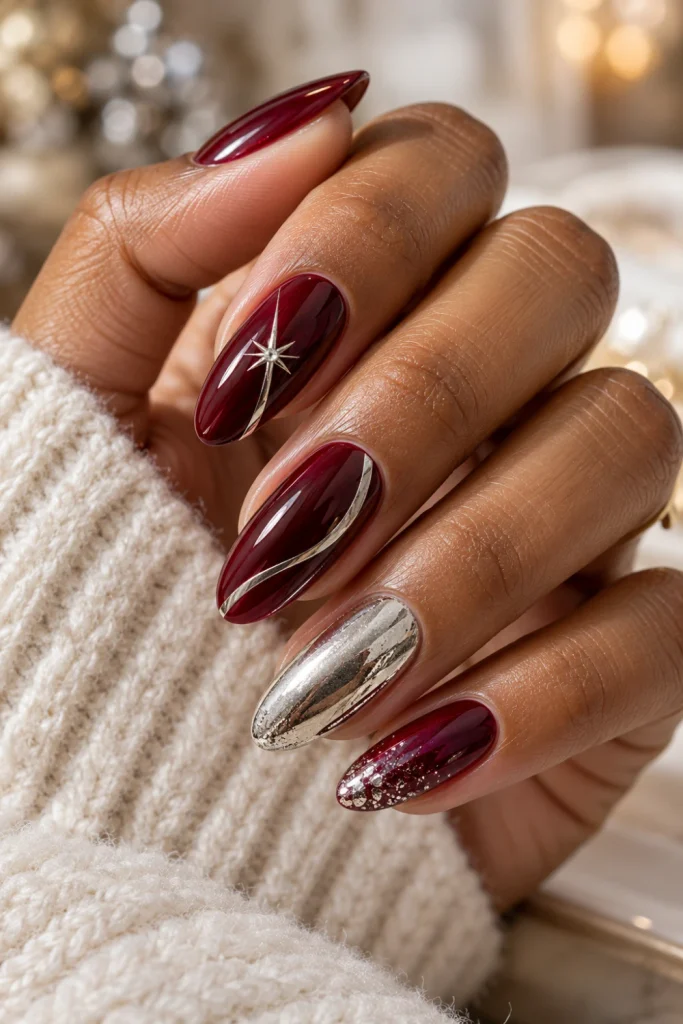
8. Christmas Nail Polish in Burgundy and Chrome
Glamorous • Modern • Sophisticated
Deep burgundy Christmas nail polish offers a beautiful alternative to traditional bright red.
Pair it with metallic chrome accents for a manicure that feels sophisticated enough for formal dinners and festive evening events.
Simple steps:
- Apply a burgundy base coat in thin, even layers.
- Add a chrome accent, metallic stripe, or small star.
- Keep the remaining nails glossy and simple.
- Apply the appropriate top coat for your chosen finish.
Tip: Gold chrome creates warmth, while silver chrome gives the manicure a cooler, more contemporary look.
9. Christmas Nail Art Ideas With Gold Stars
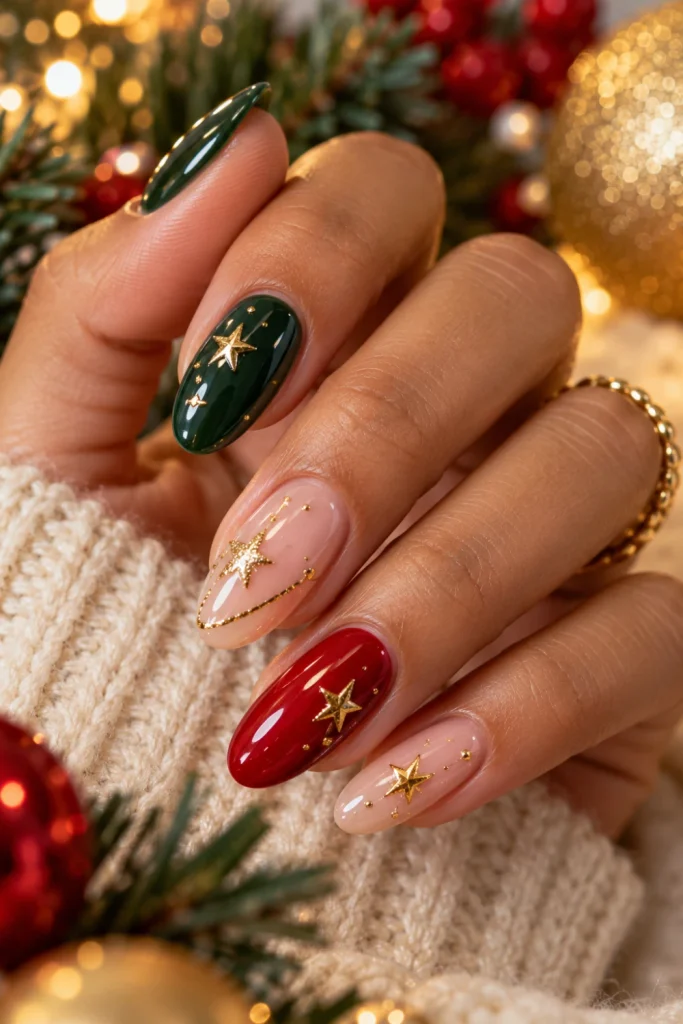
Shimmering • Chic • Easy to Customize
Gold-star nail art adds a festive sparkle without requiring complicated designs.
Against nude, forest green, or deep red polish, small metallic stars create an elegant manicure that feels celebratory rather than excessive.
Simple steps:
- Choose a nude, red, or green base.
- Apply tiny gold star decals or paint stars with a fine brush.
- Add a few miniature dots for extra detail.
- Seal with a top coat suitable for your nail-art materials.
Tip: Place stars asymmetrically instead of repeating the same pattern on every nail.
10. Christmas Nail Designs for Beginners
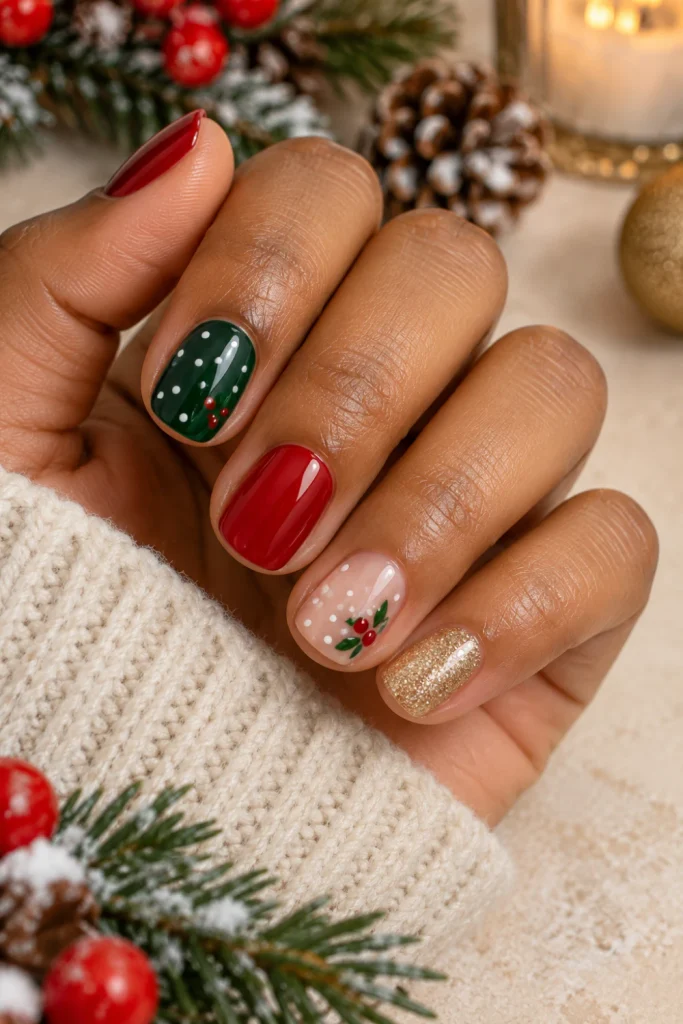
Simple • Affordable • Beginner-friendly
You do not need professional nail-art skills to create festive nails.
Simple dots, glitter accents, and contrasting tips make attractive Christmas nail designs for beginners using only a few basic tools.
Simple steps:
- Apply a neutral, red, or green base color.
- Use a toothpick or dotting tool to create small white dots.
- Add glitter polish to one accent nail.
- Finish with a clear top coat.
Tip: Start with simple patterns on fully dry polish before attempting detailed artwork.
11. Short Christmas Nails With Tiny Wreaths
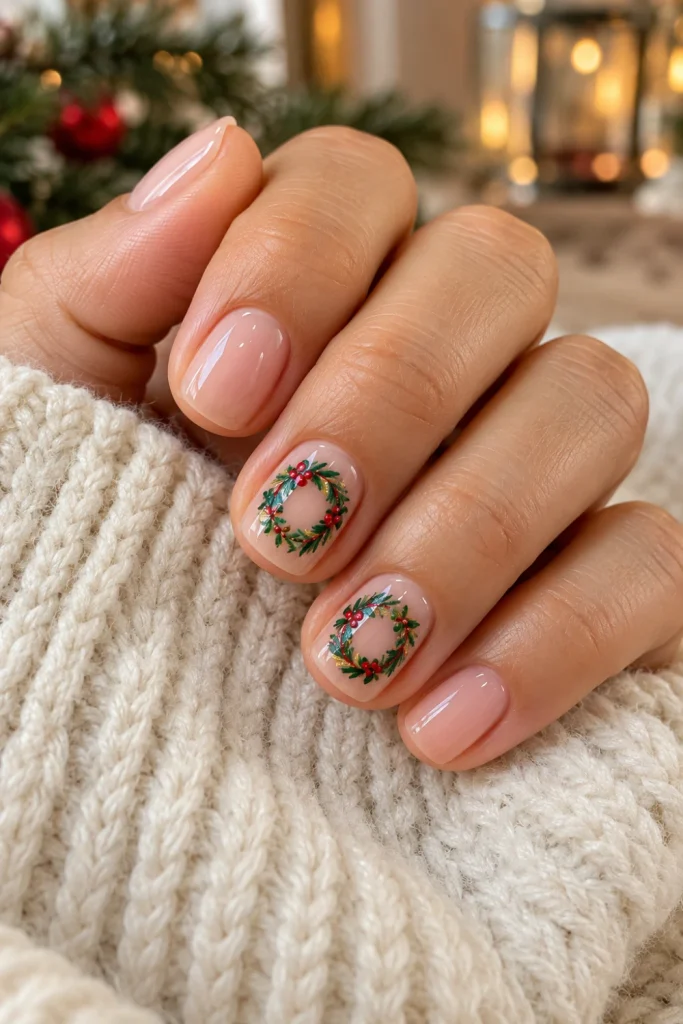
Delicate • Practical • Festive
Short Christmas nails can look just as stylish as longer manicures.
Miniature wreaths, tiny bows, and subtle green accents create festive details without making the nails appear crowded.
Simple steps:
- Shape short nails into a soft square or rounded silhouette.
- Apply a nude or sheer pink base.
- Paint a small green wreath on one or two nails.
- Add tiny red dots for berries and seal the design.
Tip: Keep the wreath small and centered so it remains clearly visible on a shorter nail.
12. Christmas French Tips With Red and Green
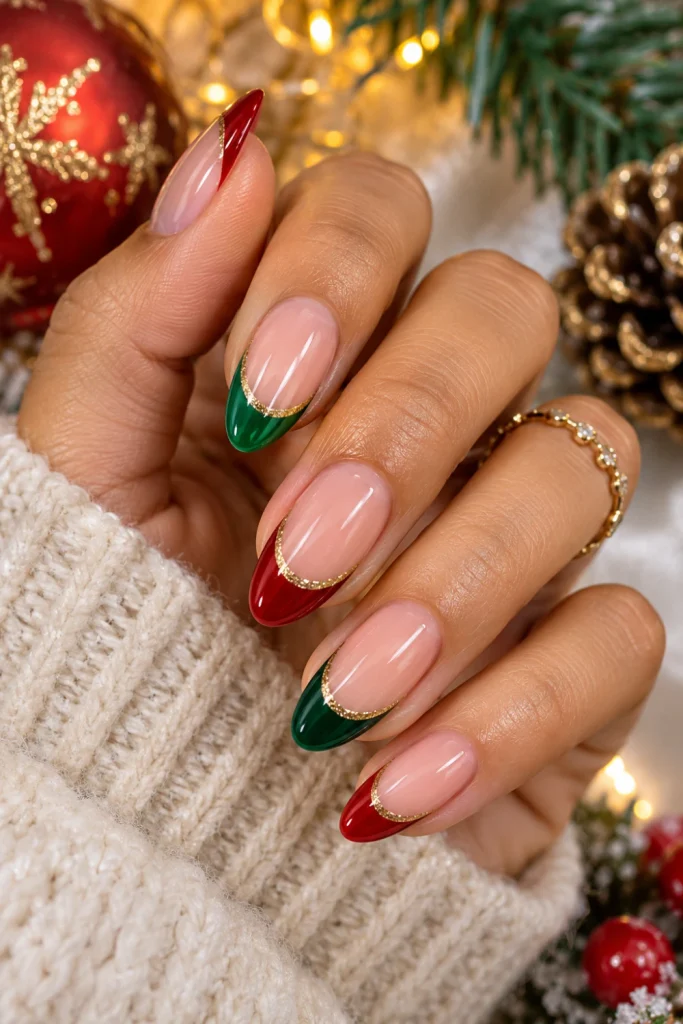
Modern • Polished • Versatile
French tips receive a festive update with deep red, emerald green, or alternating holiday colors.
This design is a lovely choice if you want Christmas nail art that still looks elegant after the main celebrations.
Simple steps:
- Apply a sheer nude or pink base.
- Paint thin red or green tips along the nail edges.
- Add a delicate gold line beneath selected tips if desired.
- Finish with a glossy top coat.
Tip: Choose a thin French tip for short nails and a slightly deeper tip for longer almond-shaped nails.
13. Glittering Christmas Nails With Silver Snowfall
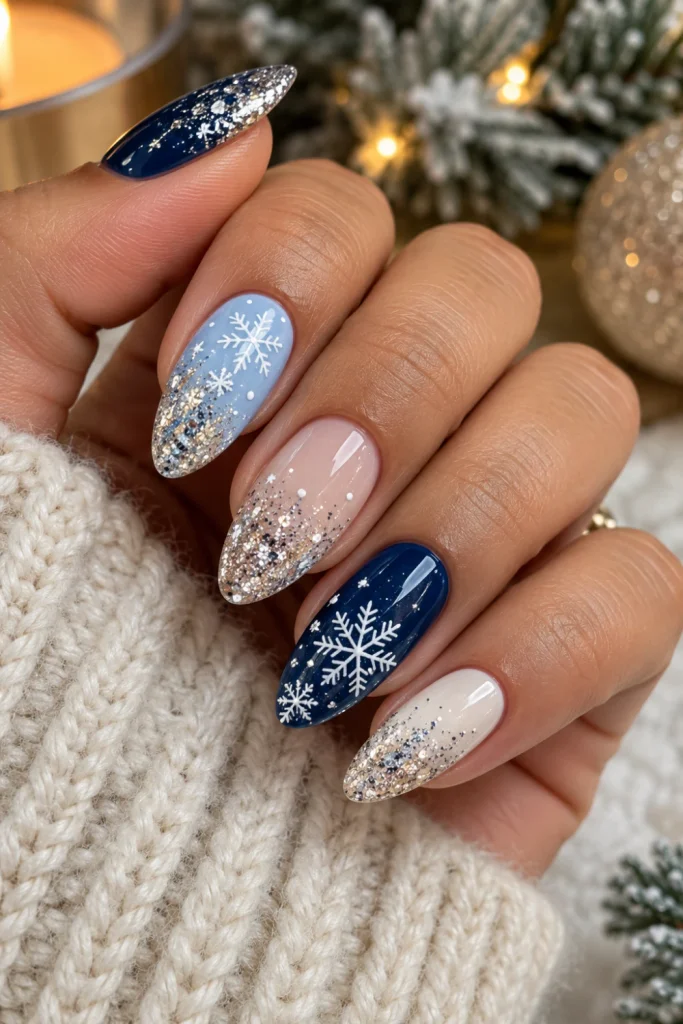
Sparkly • Festive • Party-ready
For a manicure that catches the light, silver glitter and delicate snowflake details create a beautiful winter-inspired finish.
This design pairs especially well with navy, white, burgundy, or icy blue polish.
Simple steps:
- Apply a navy, pale blue, or sheer nude base.
- Add silver glitter to the tips or one accent nail.
- Paint tiny white snowflakes over the base.
- Seal the design with a top coat to smooth the surface.
Tip: Concentrate glitter near the tips or cuticle area for a more intentional, salon-inspired finish.
Final Thoughts: Find Your Perfect Christmas Nail Look
The best Christmas nail designs balance festive details with a style that suits your everyday life.
Velvet green nails and burgundy chrome offer a luxurious finish, while candy-cane stripes, snowflakes, and gold stars bring classic holiday charm.
If you are celebrating in warm weather, tropical summer Christmas nails provide a fresh alternative to traditional winter colors.
Before choosing your design, consider your nail length, outfit colors, available nail-art tools, and how much maintenance you prefer.
For a simple manicure, start with one base color and a single accent.
For a more dramatic look, combine magnetic polish, metallic details, or carefully placed glitter.
One final tip: Save your favorite reference image before visiting the salon, and ask your nail technician which polish and top coat will best preserve the finish.
With the right combination of color, texture, and detail, your Christmas manicure can feel festive, polished, and uniquely yours.