I constantly stare at blank walls and absolutely sigh out loud.
You probably want something uniquely textured for your living room, right?
I recently started making Canvas art diy tissue masterpieces, totally transforming my home decor permanently.
Let me share my absolute favorite secrets for using ordinary materials to create stunning, high-end looks today.
1. Grabbing the Right White Materials
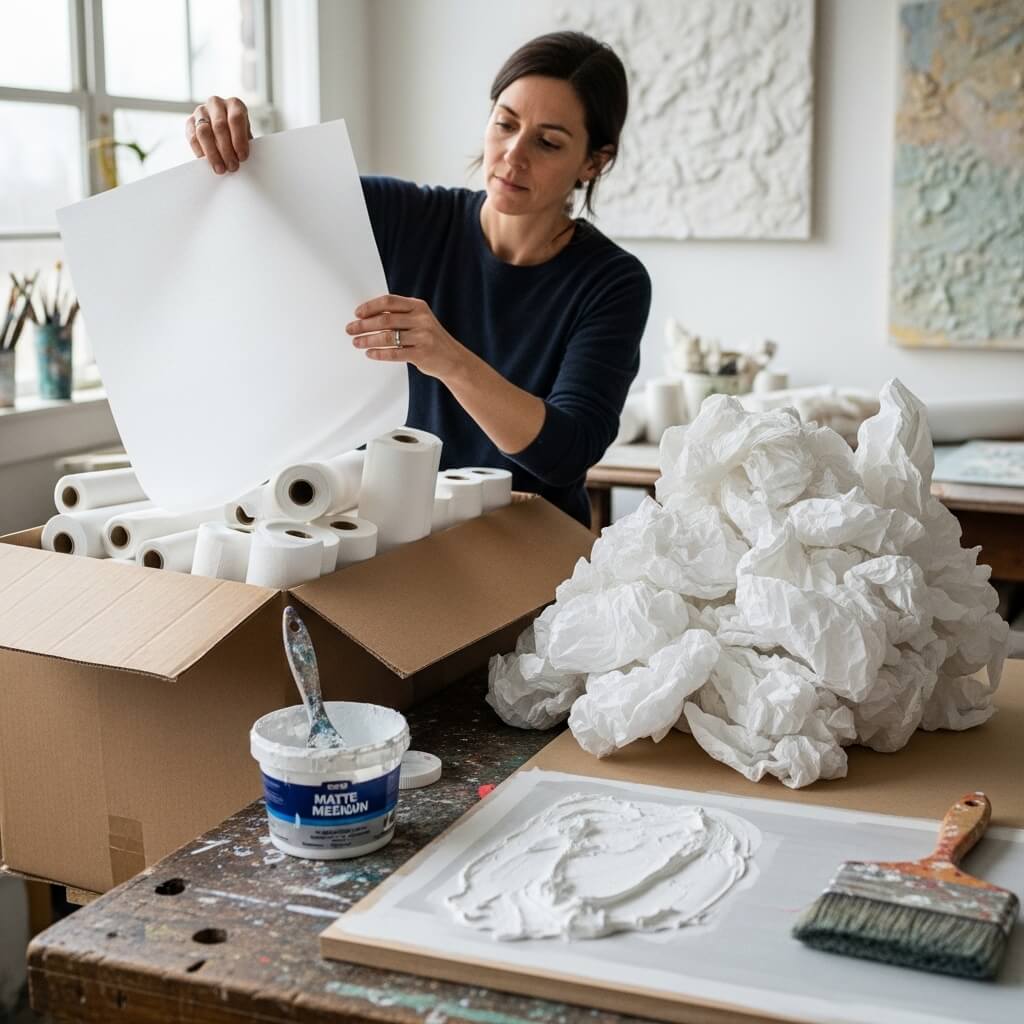
The Foundation of Texture
I always begin my crafting sessions with cheap, crisp White material.
You cannot build a decent Background using flimsy, cheap napkins.
I buy bulk craft supplies because standard Tissue paper offers the perfect crinkle factor.
Who actually wants flat, boring art anyway?
You need heavy dimension to truly impress your house guests.
I love destroying perfectly good supplies for a beautiful cause.
- Crumple the paper aggressively to create deep, interesting wrinkles quickly.
- Tear the edges roughly instead of using precise, sharp scissors.
- Layer multiple thin sheets to build incredible visual depth instantly.
2. Mixing That Perfect Skincare Aesthetic
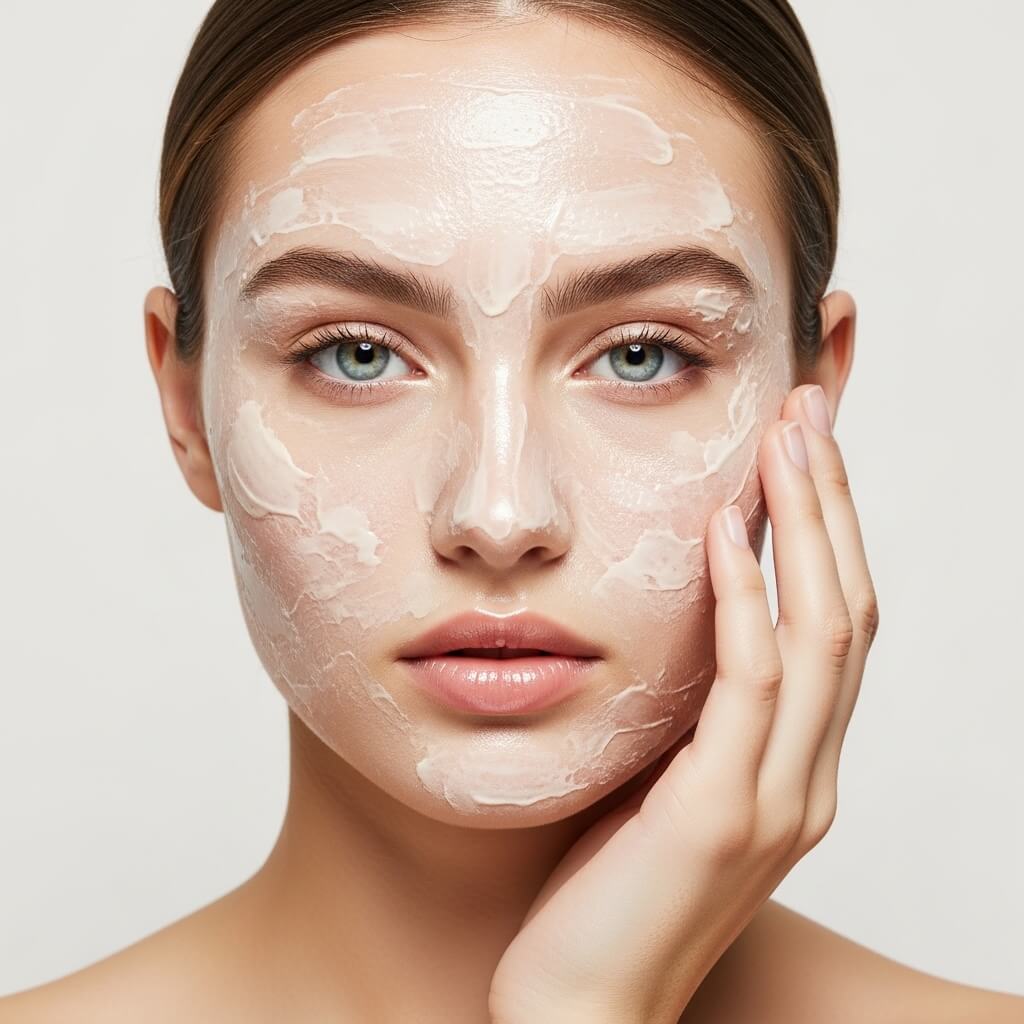
Soft and Smooth Vibes
Your home decor should definitely mimic your favorite Skincare routine.
I absolutely love adding a Soft, glowing finish to my mixed-media canvases.
You easily achieve this magic by blending plain water with a heavy glue medium.
A smooth, flawless skin texture creates an incredibly calming vibe in any chaotic room.
Why settle for harsh lines? I always smooth the bumps out carefully to maintain absolute elegance.
- Mix half glue and half water for the perfect bonding paste.
- Brush the wet mixture gently over your crumpled paper foundation.
- Pop any large air bubbles instantly with a sharp pin.
3. Adding Drama with Deep Colors
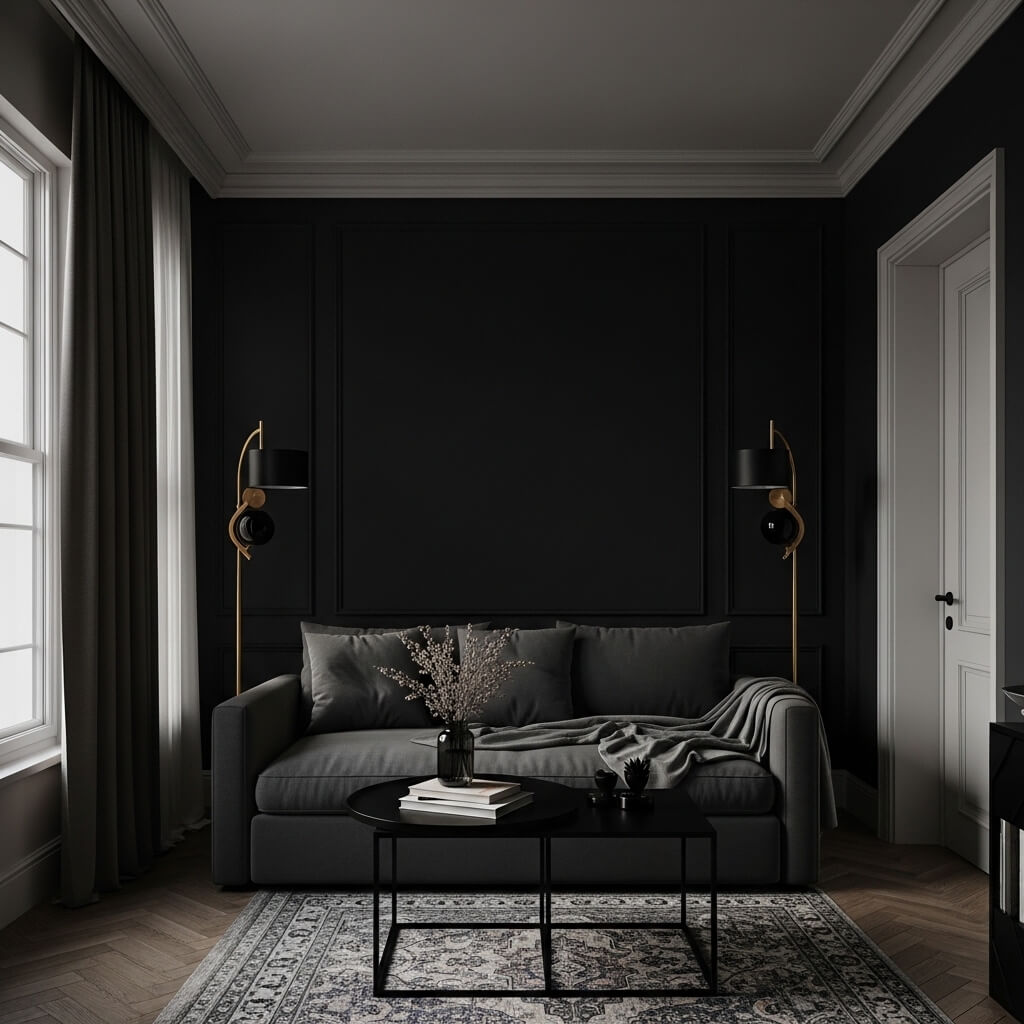
Creating Sharp Contrast
Every single interior design scheme strictly needs a bold visual anchor.
I aggressively paint deep Black shadows to make the lighter textures pop.
You completely ruin the whole aesthetic if you leave everything terribly pale.
Want your new art piece to look expensive and intensely moody?
I severely dislike boring, entirely pastel rooms anyway. :/
- Apply dark acrylic paint specifically deep inside the tightest crevices.
- Wipe the raised top edges clean using a wet, damp cloth.
- Use matte dark paint finishes rather than cheap, shiny gloss alternatives.
4. Elevating Your Edits with Textiles
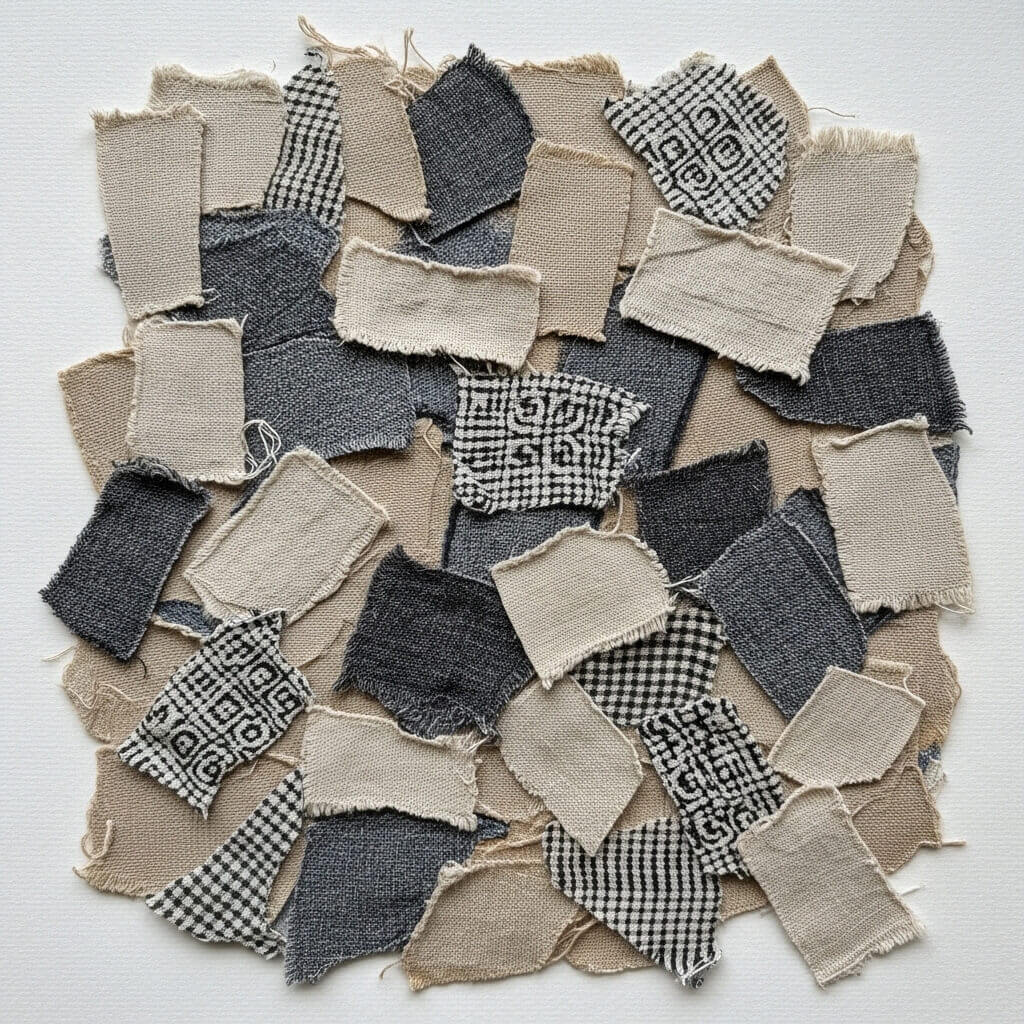
Mixing Different Mediums
I constantly refine my artistic Edits by aggressively incorporating actual textiles.
You simply glue scrap Fabric directly onto the wet Tissue.
I specifically hunt down antique Linen scraps for that authentic, lived-in historical feel.
IMO, ordinary canvas simply looks way too predictable without them.
You absolutely need contrasting materials to elevate the entire visual experience completely.
- Fray the delicate linen edges completely before gluing them down flat.
- Overlap contrasting rough fabric pieces to generate extreme surface texture.
- Seal the soft cloth materials completely with a thick, heavy topcoat.
5. Bringing Nature Indoors
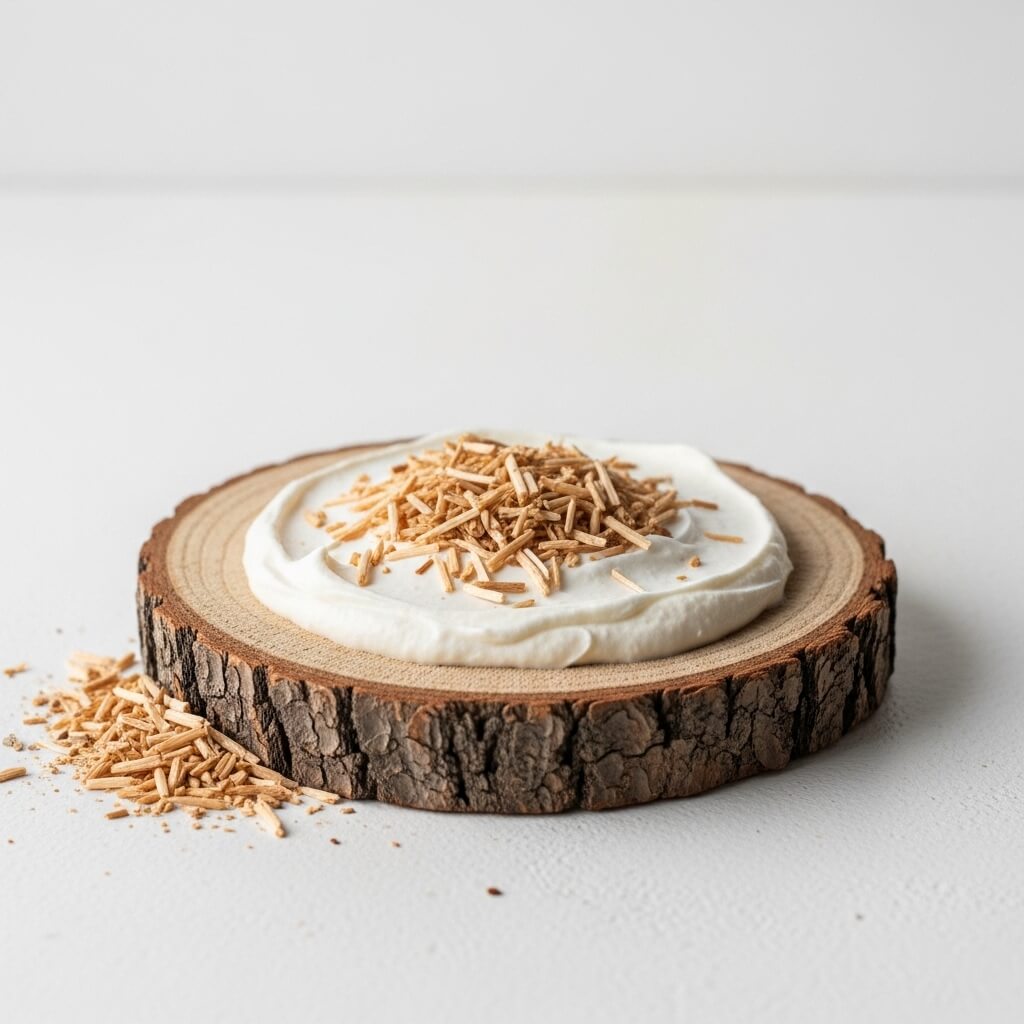
The Rustic Touch
A stark room completely demands warm, organic, natural touches.
I enthusiastically glue tiny Wood shavings right into the wet paste.
You create stunning Textured art with tissue paper when you forcefully introduce raw, earthy materials.
Nature always provides the absolute best craft supplies for free.
Why spend huge cash on artificial plastic garbage? I scavenge my local park weekly.
- Sprinkle fine, dusty sawdust over the glue while it remains totally wet.
- Embed small, rigid twigs horizontally for incredibly strong structural lines.
- Paint the wooden pieces slightly to match the surrounding canvas perfectly.
6. Channeling Retro Vibes
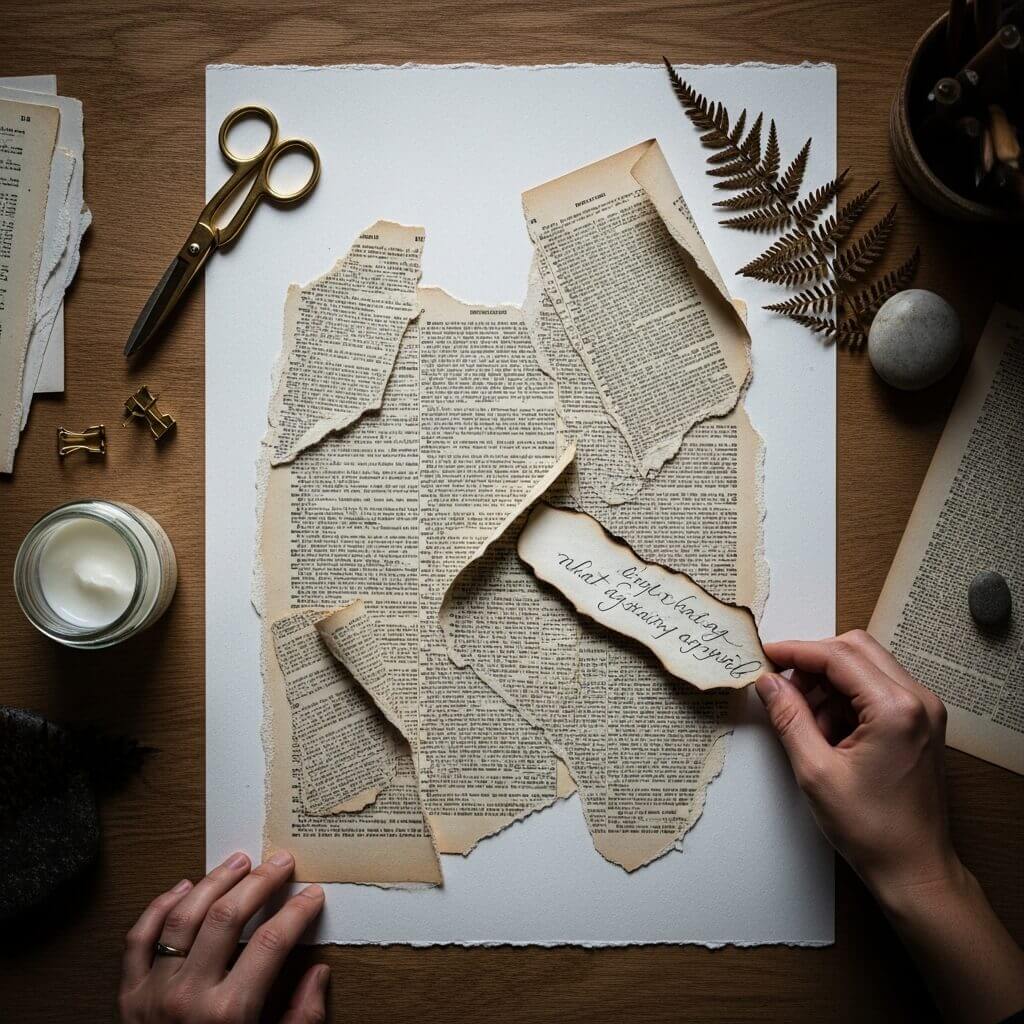
Finding Historical Treasures
I furiously scroll Pinterest boards looking for authentic retro design inspiration constantly.
You effortlessly elevate your Art by tearing up actual Vintage paper.
I rip entire pages from old, ruined dictionaries to add cool, mysterious typography.
Don’t you absolutely love hiding secret, cryptic messages in your personal decor?
I firmly believe old books hold literal magic.
- Soak the old book pages in weak black tea for extra aging.
- Crumple the wet, fragile pages right alongside your firm base layers.
- Burn the extreme paper edges slightly for a dramatic, deeply burnt look.
7. Softening the Look with Color
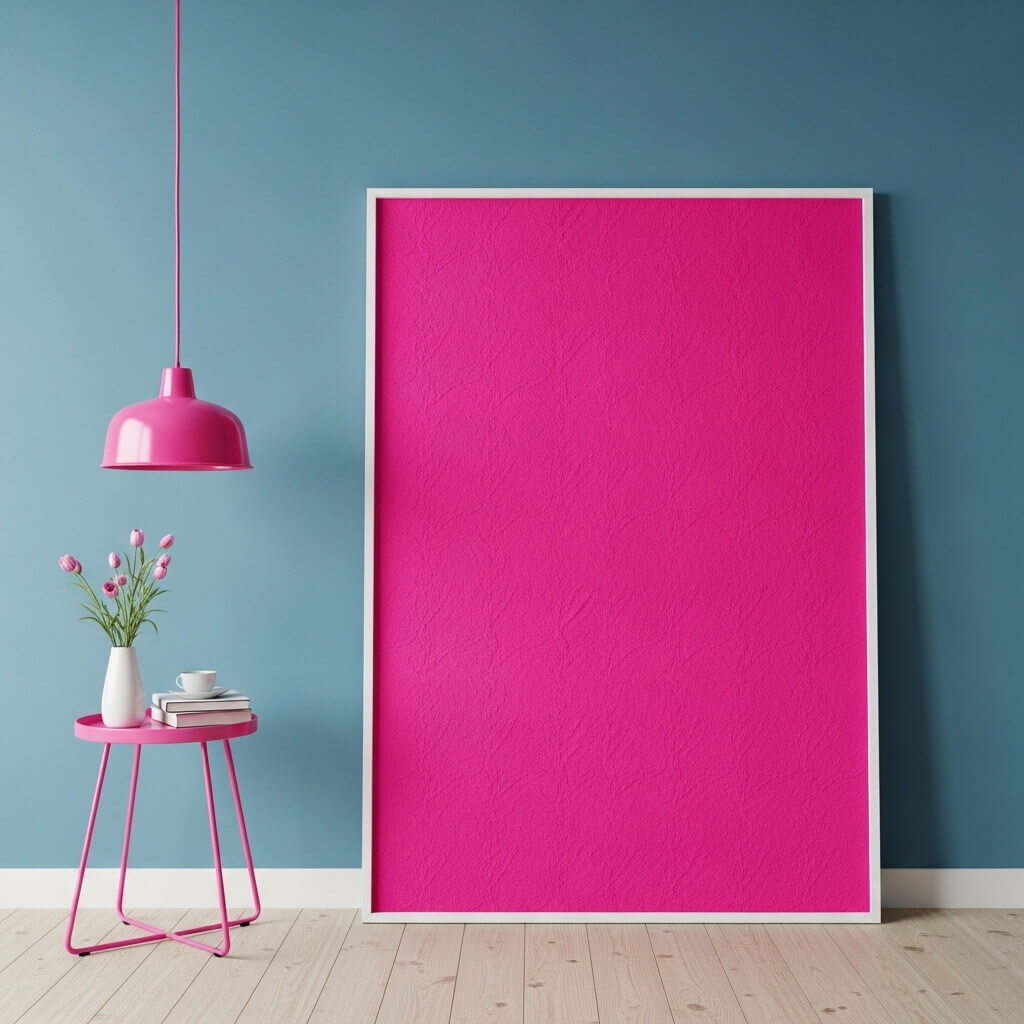
A Touch of Romance
Sometimes a room quickly creates a painfully cold and rigid atmosphere.
I instantly fix that terrible vibe by introducing a bold Pink textured element.
A bright splash of fuchsia totally wakes up a boring, horribly flat wall.
You absolutely need some wild color to keep things visually interesting.
I aggressively reject completely monochrome design schemes entirely.
- Dab bright magenta paint strictly onto the absolute highest paper peaks.
- Blend a pale blush tone softly right into the surrounding white areas.
- Splatter neon Pink dye wildly across the fully dried canvas surface.
8. Grounding the Canvas
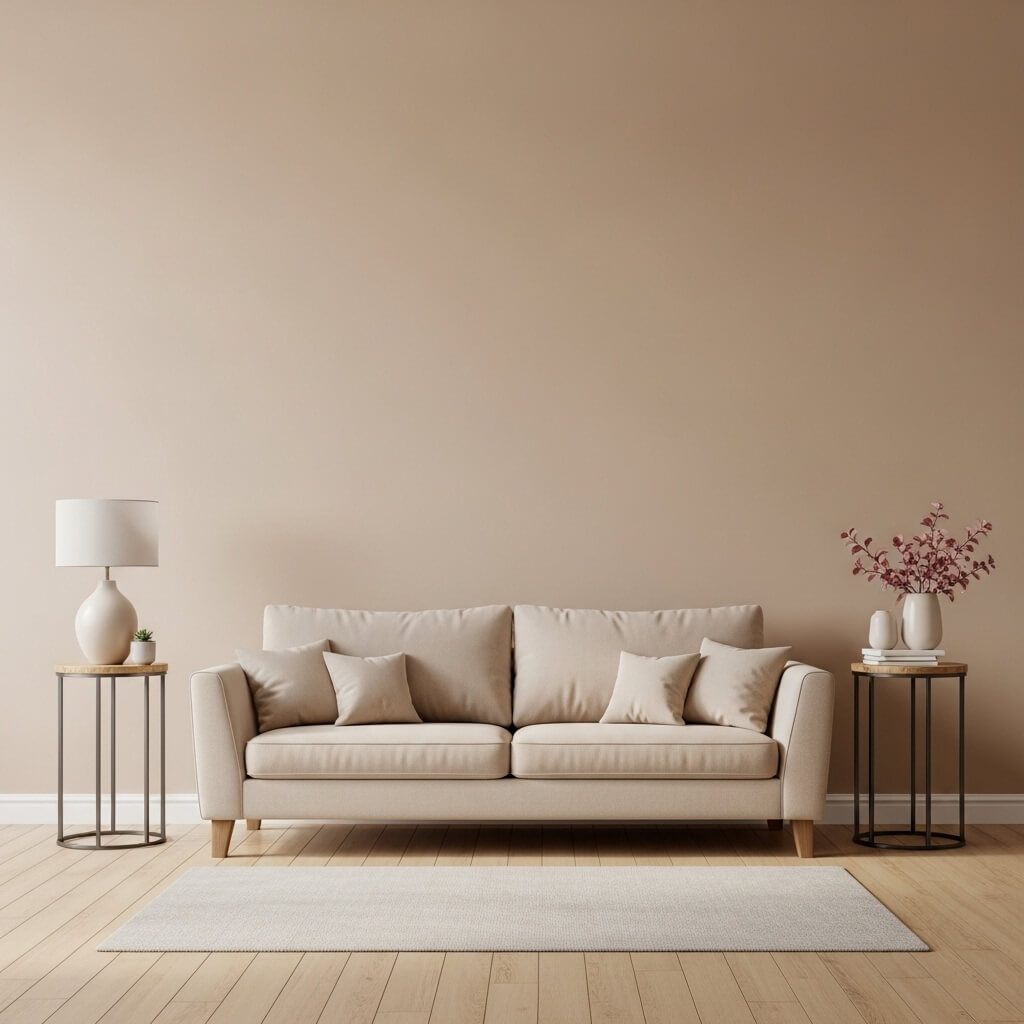
Embracing Earth Tones
Neon colors definitely cause massive, painful headaches after a short while.
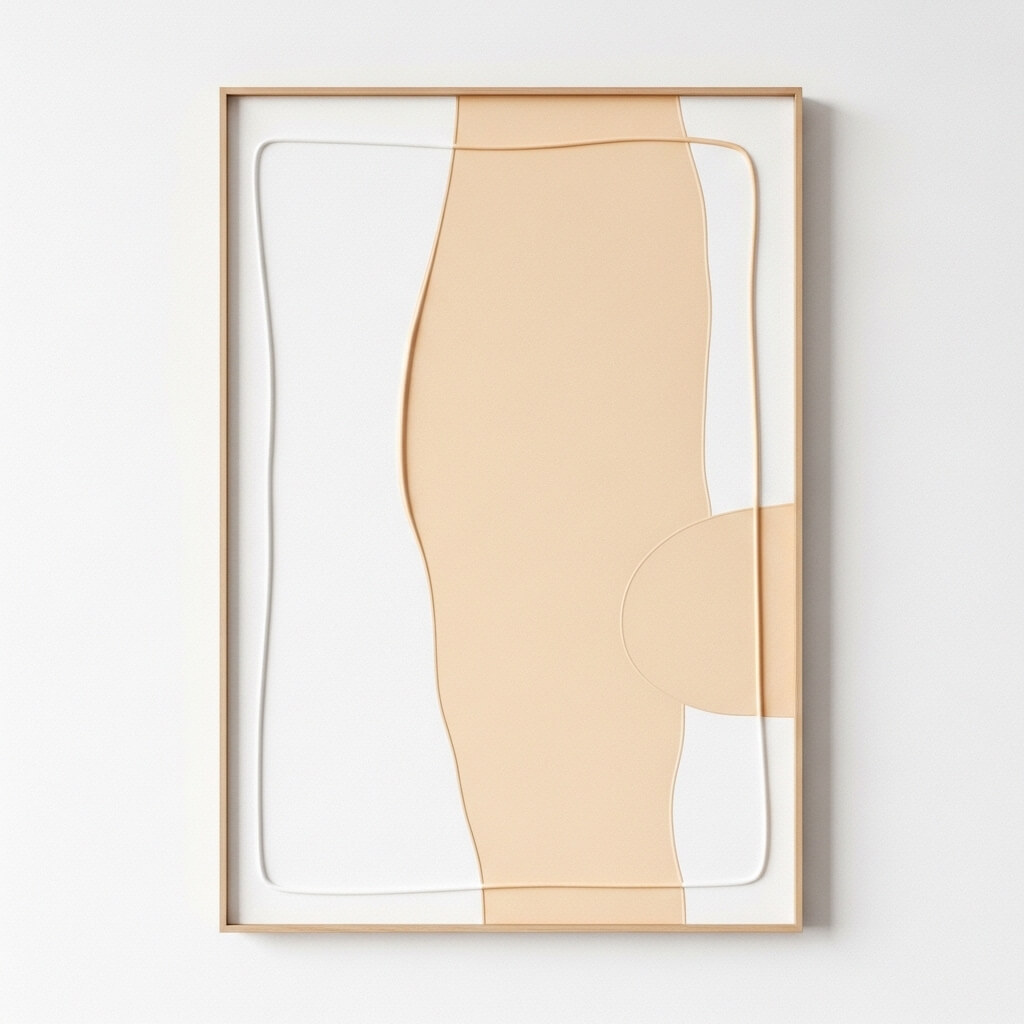
I totally prefer grounding my wild creations using rich brown and soothing biege.
You build an incredibly cozy, warm atmosphere when you stick to soft earth tones.
I paint my entire base layers completely beige first.
Natural palettes simply make a home feel safe and secure.
- Mix raw umber paint pigment directly into your wet, sticky glue.
- Sponge light beige paint gently straight over the flat, smooth sections.
- Use dark chocolate tones strictly for creating the heavy, deep shadows.
9. Splashing Cool Tones
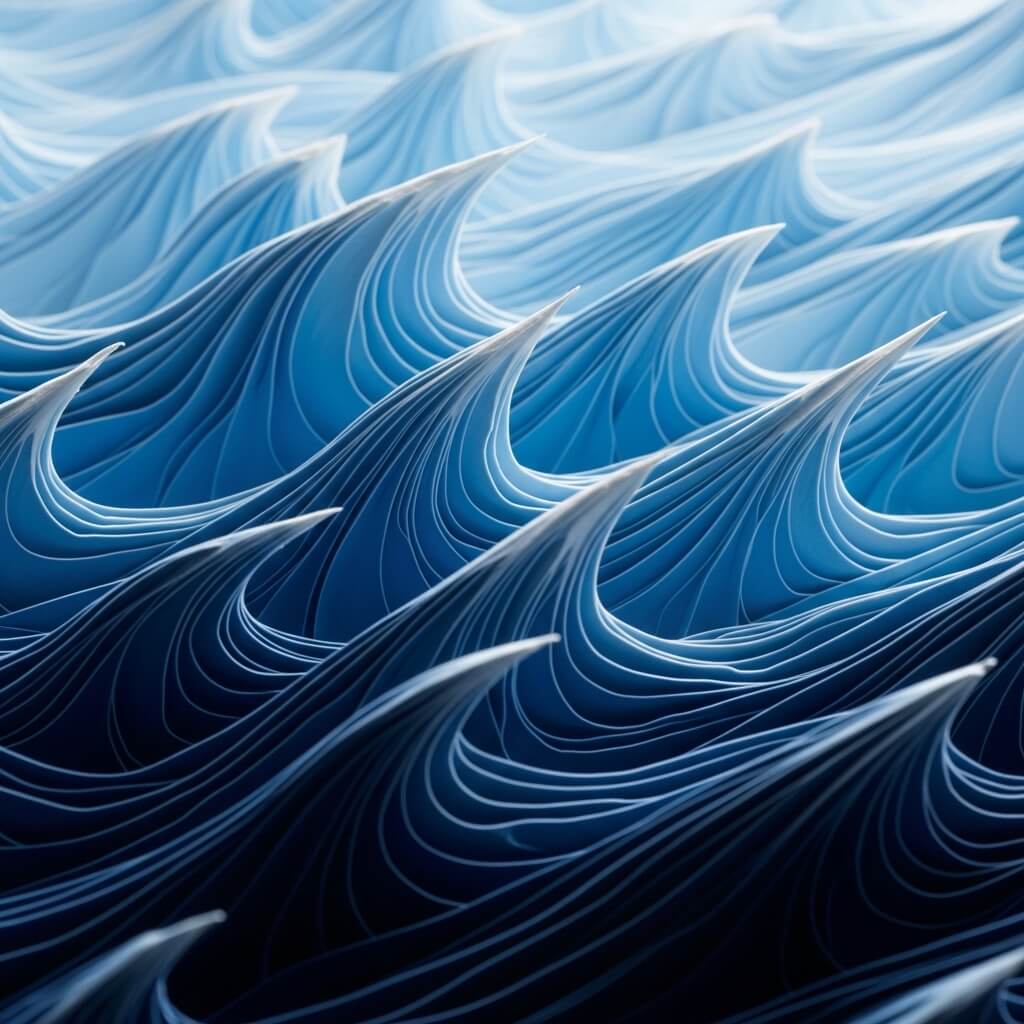
Creating Oceanic Waves
Warm tones eventually overwhelm the sensitive viewer completely.
I always balance the extreme heat by adding a vibrant, icy Blue.
You easily simulate gorgeous, rolling ocean waves by manipulating the wet paper into long, sharp ridges.
I totally adore coastal interior design aesthetics.
Water themes instantly calm a stressed mind after a long, brutal work day.
- Push the wet, soggy paper sideways to form sharp, incredibly long crests.
- Paint the deep, textured valleys a rich, intensely dark navy hue.
- Highlight the top mountain ridges with a pale, frosty cerulean blue.
10. Brightening the Mood
The Perfect Neutral
Pure white paint sometimes creates a ridiculously sterile, horrible hospital environment.
I highly recommend using a rich, warm Cream shade instead.
You instantly warm up the entire art piece without committing to a heavy, aggressively dark color.
I use creamy acrylics to completely soften harsh, ugly transition lines.
This subtle shift fixes glaring design errors instantly.
- Blend white craft paint with yellow to create custom, warm tones.
- Dry-brush the creamy paint gently over the completely dry surface texture.
- Cover the stark white canvas corners completely with the warmer, richer shade.
11. Making a Statement
The Power Center
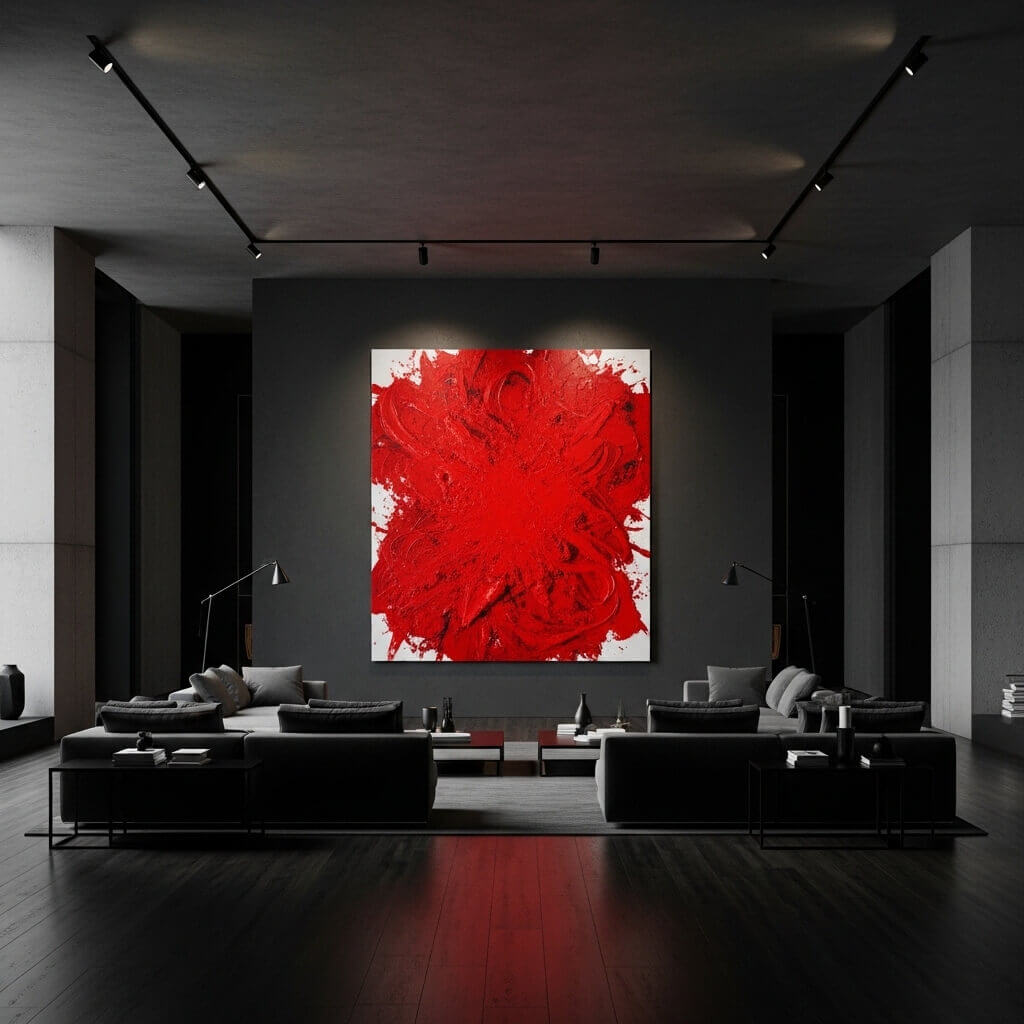
Every decent room layout fiercely requires one aggressive, loud focal point.
I totally slap a huge, violent patch of blazing Red right in the absolute center.
You command absolute attention when you utilize bright, shocking crimson.
Why play it safe with boring, predictable colors all the time?
I demand my living room commands total respect immediately.
- Squeeze the thick, heavy paint directly from the main artist tube.
- Smear the bright, loud color aggressively using a sharp metal palette knife.
- Keep the surrounding canvas areas completely neutral to maximize the visual pop.
12. Building Blocky Textures
Geometric Fun
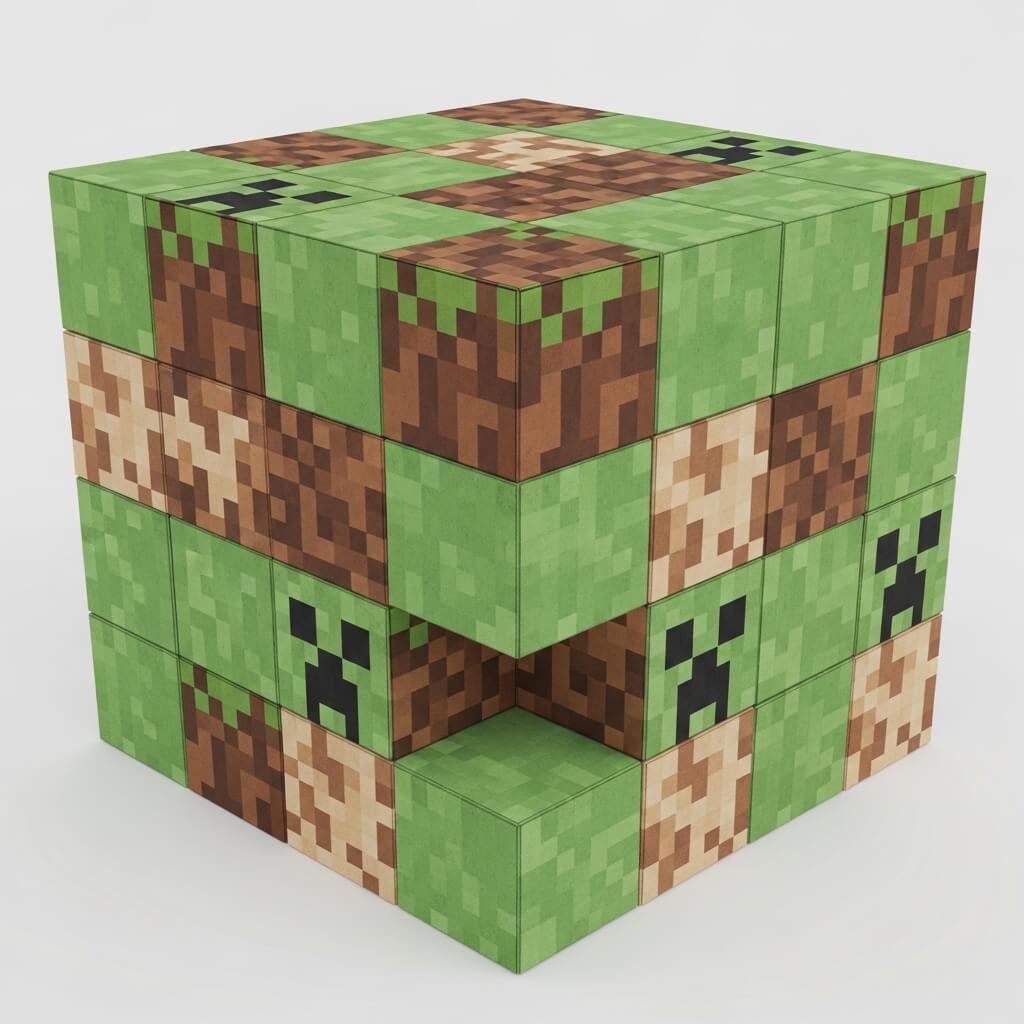
My nephew fiercely loves video games; this sparked an absolutely brilliant idea today.
I cut square pieces to create a cool Minecraft inspired grid pattern.
You literally build your fresh canvas pixel by pixel this way!
This geometry provides an incredibly modern, structured look.
I love crossing digital art themes with messy, physical craft projects.
- Cut the thin, dry material into perfectly equal, rigid square shapes.
- Glue the tiny paper squares straight down in a strict, rigid grid.
- Vary the overall thickness of each square to create massive 3D depth.
13. Finalizing Your Masterpiece
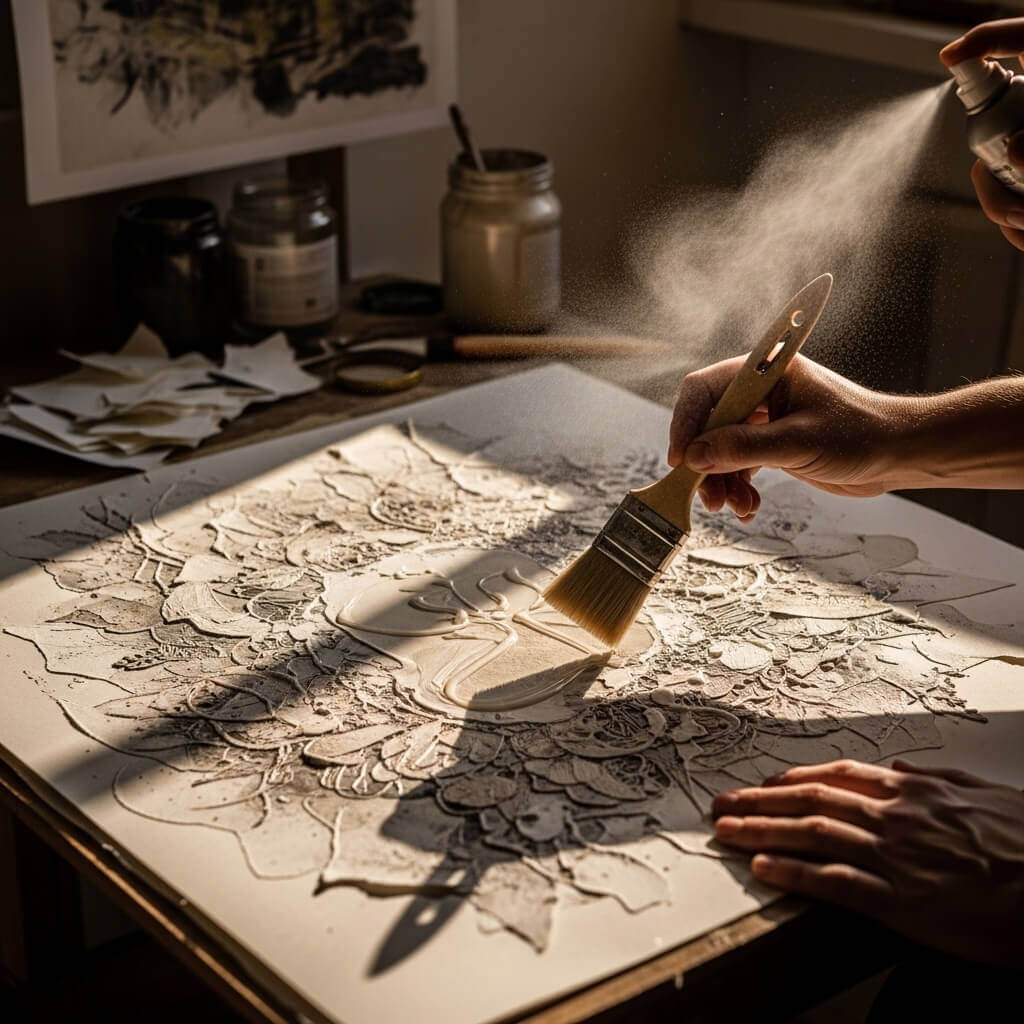
Sealing the Deal
You just poured hours of literal sweat into this messy piece.
I always seal my Paper projects perfectly to prevent future dust damage completely.
FYI, you completely ruin the delicate paint and neutral layers if you skip this crucially important step.
Ready to hang your brand new, amazing creation? Protect your hard work furiously today.
- Spray a heavy, thick matte sealer evenly across the entire textured surface.
- Let the whole wet canvas dry completely overnight in a totally safe spot.
- Attach heavy metal wire firmly directly to the solid wooden back frame.
We just covered a massive amount of creative ground together!
You now possess the exact skills to manipulate cheap materials, mix wild colors, and build incredible dimension.
Transforming a blank canvas completely upgrades your interior design game.
I genuinely hope you grab some glue right now and start making a total mess.
You definitely deserve a gorgeous, highly personalized home environment.
Staring at blank walls completely drains your daily energy and stifles your natural creativity.
I totally transformed my apartment the exact moment I hung my first heavily textured masterpiece.
You quickly realize that buying mass-produced store art severely limits your personal expression.
Go out today, buy massive amounts of paste, and completely ruin your kitchen table making something genuinely beautiful.
Your interior design journey starts right this very second.